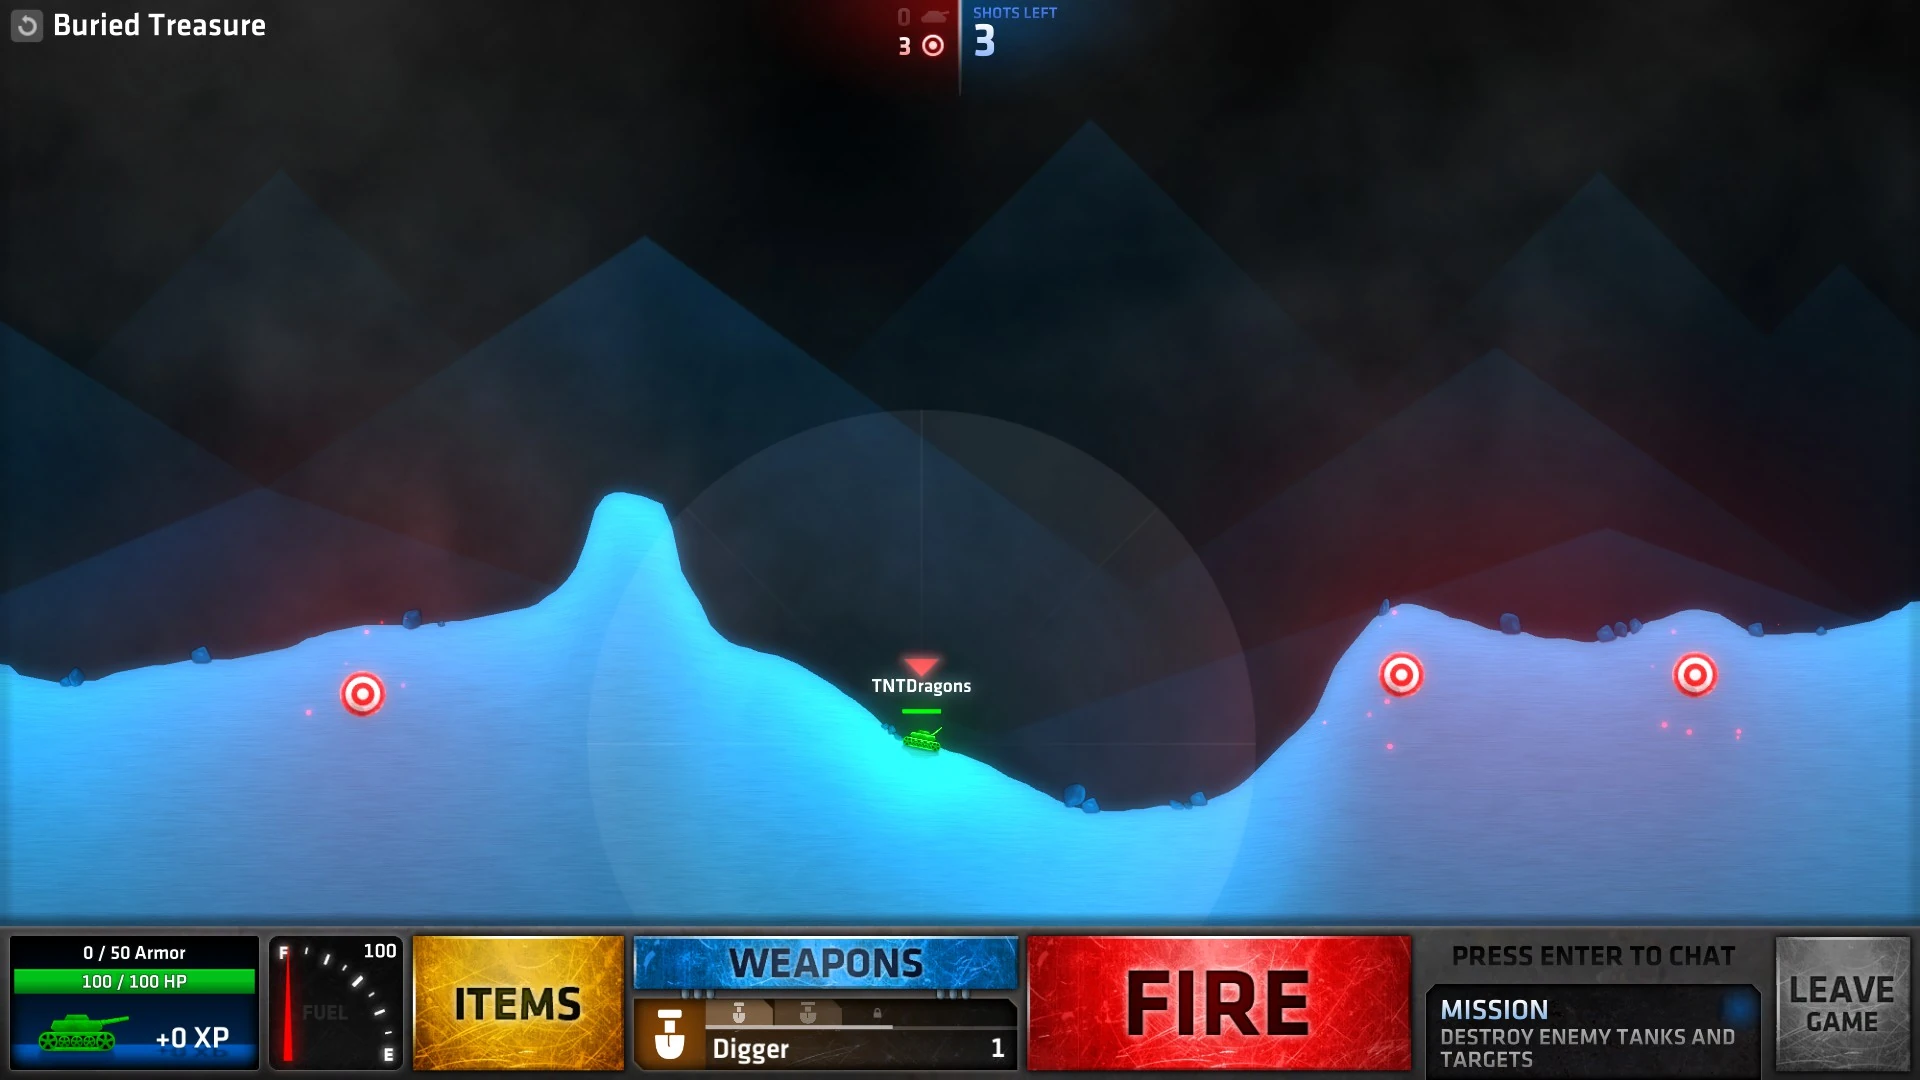
In this mission, digger is used to, well, dig. The player has to land the diggers directly above the targets in order to hit them. Even though megadigger hits the ground only four times, it will still reach any of the three targets. If the player has excavation, a restart is recommended due to its somewhat random nature.
Porthole[ | ]
More portals, more trickshots. The player has to shoot a three-ball and its upgrades through the portal to hit the targets on the other side. By adjusting aim between shots, this should be an easy mission to complete. If the player has eleven or twentyfive-ball, it can make this mission significantly easier.
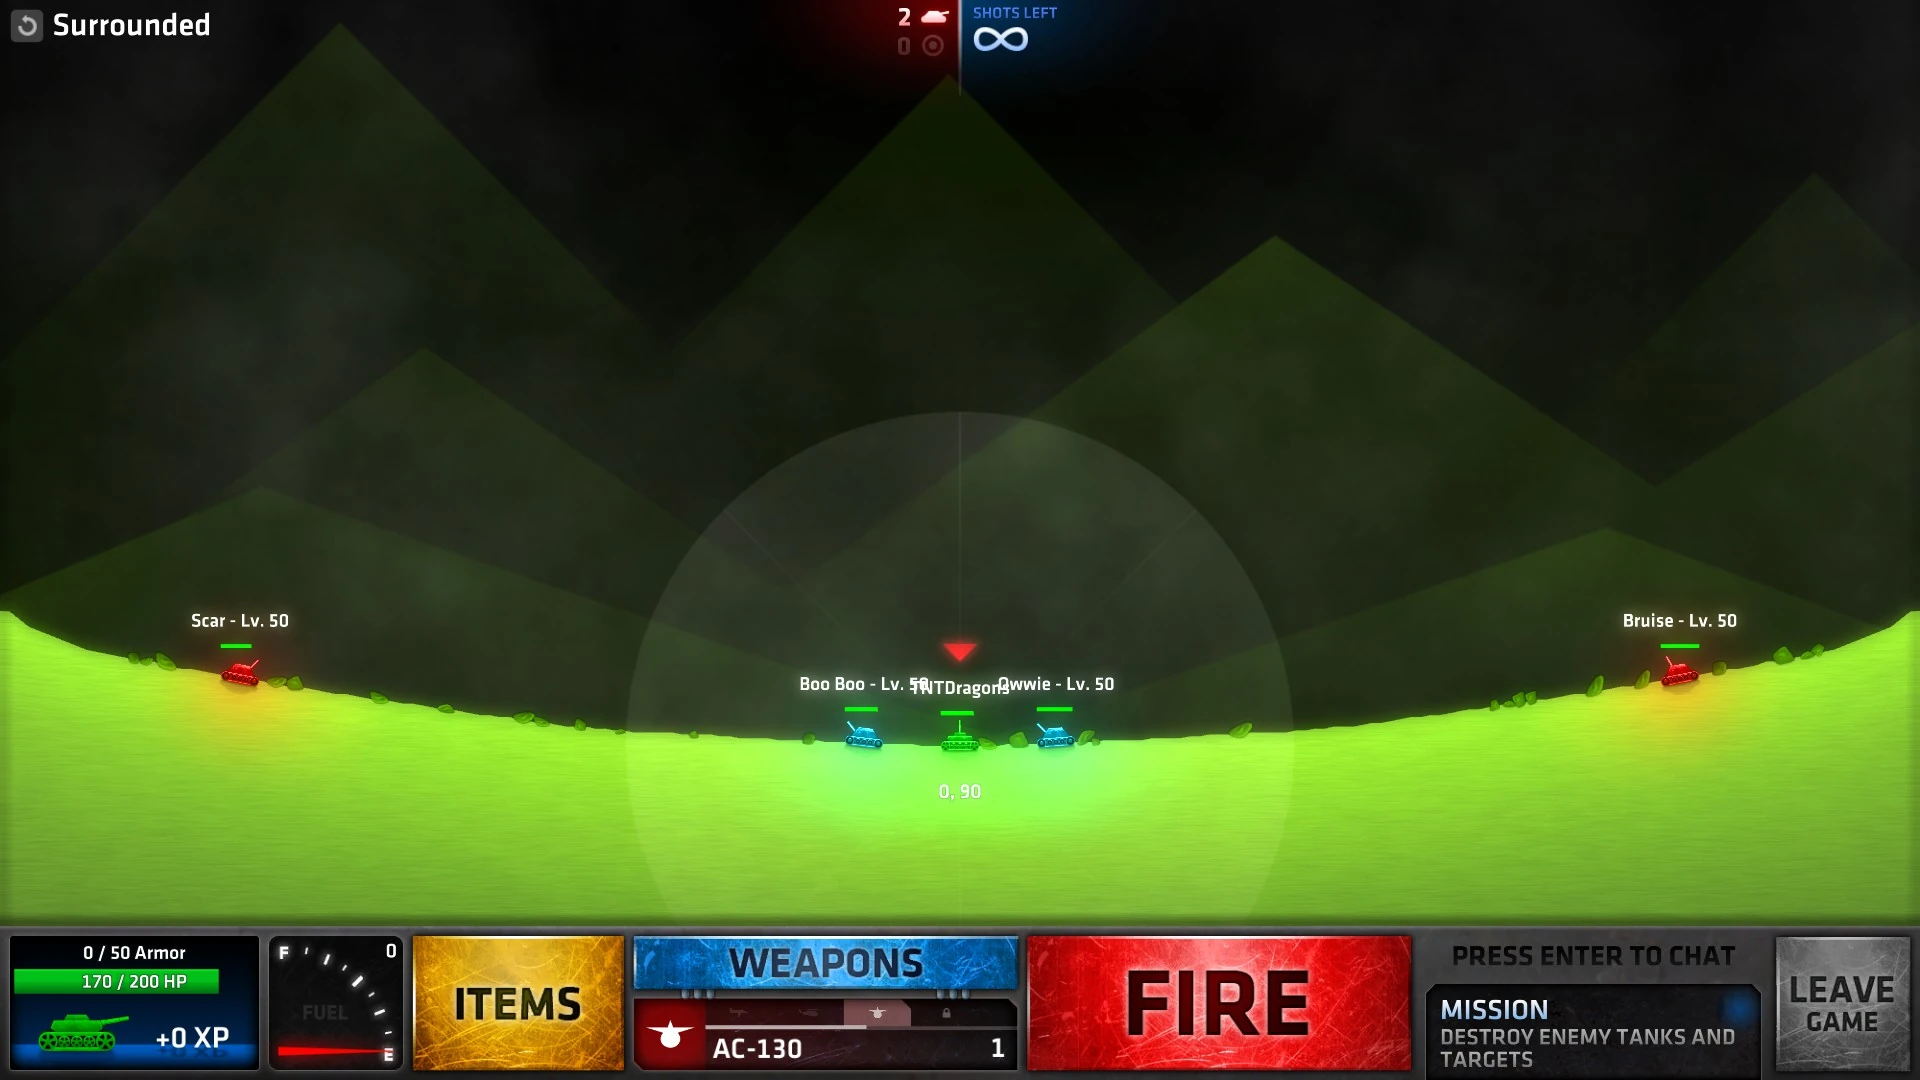
Surrounded[ | ]
This mission can be a good illustration of why players should not move too close to teammates. With no fuel, the player is unable to move. Fortunately, bots don't use that to their advantage, readjusting their aim every shot, no matter what the outcome. Take them out to proceed.
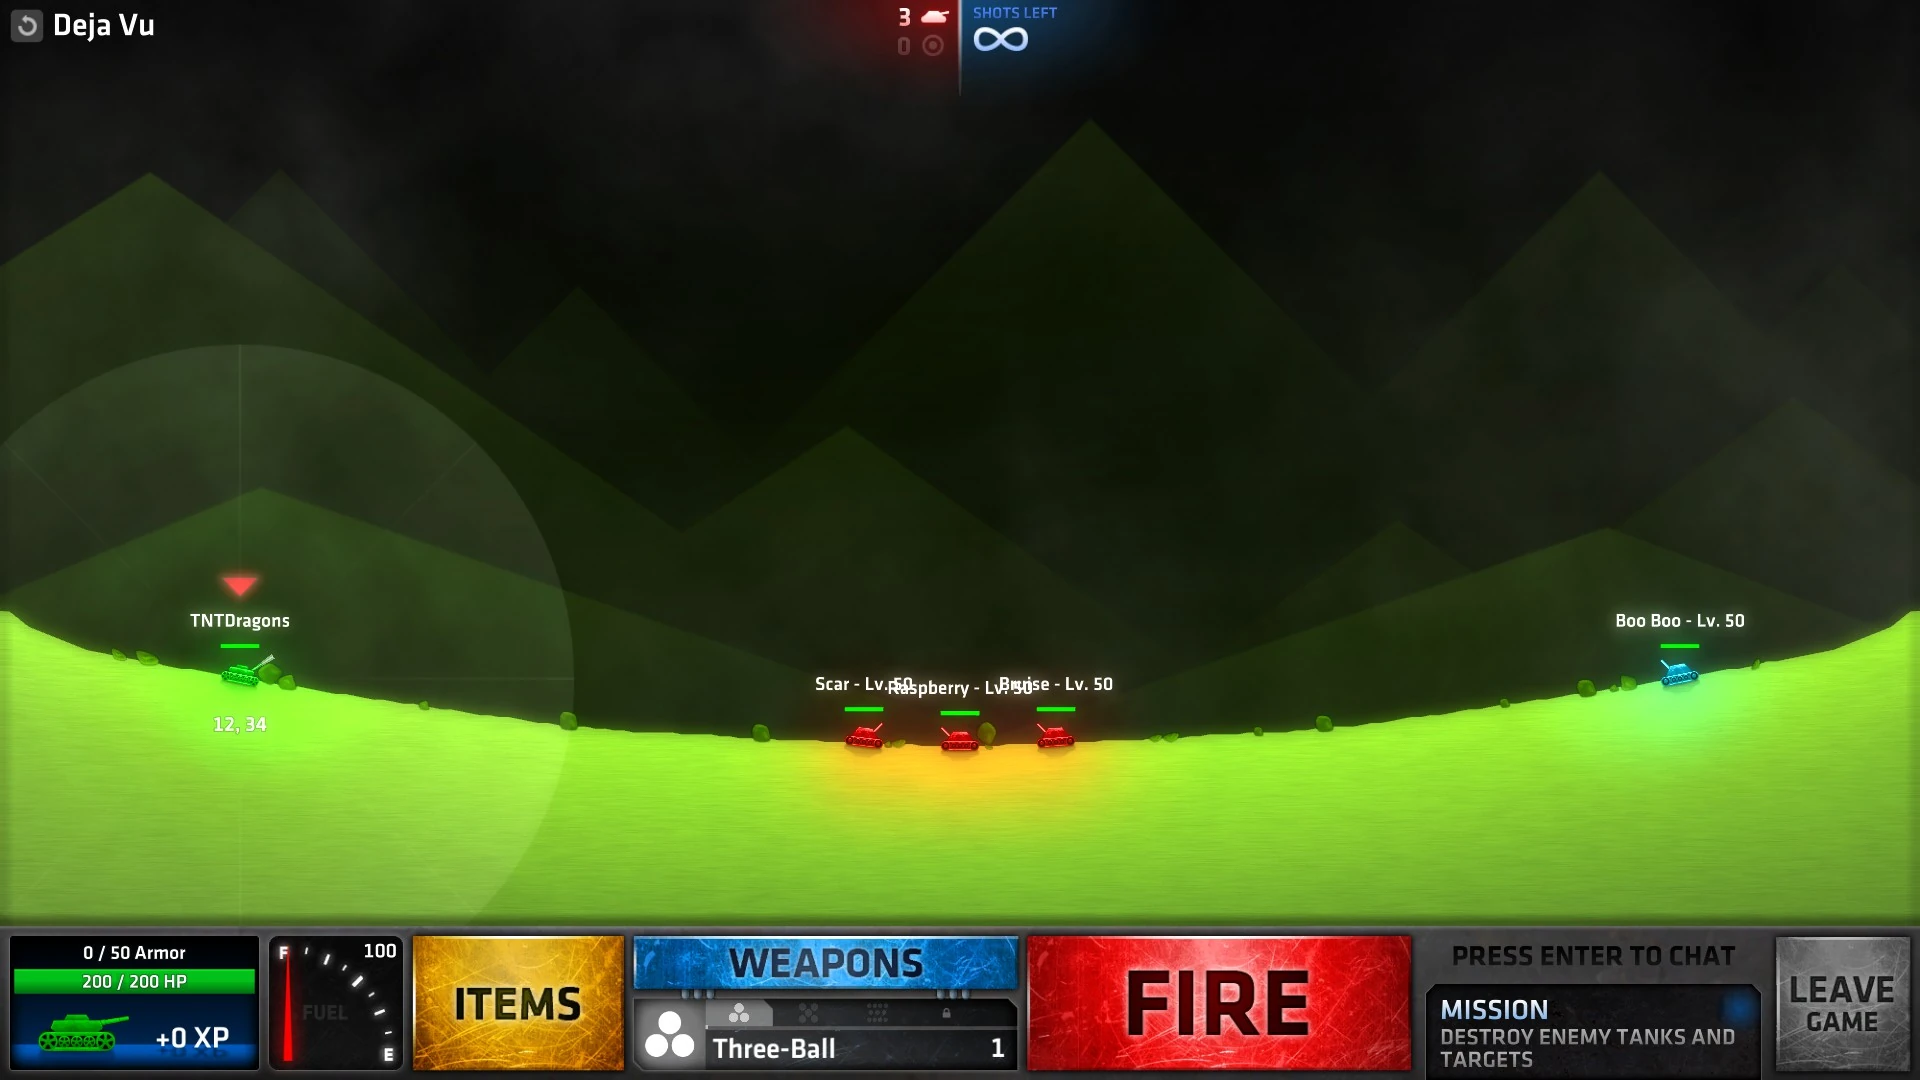
Deja vu[ | ]
The exact same as the previous mission, except you are on the side now, firing towards the grouped up enemies. Area of effect weapons such as fireworks or any other explosives work well here. This mission should be easy to complete as long as the player does not miss too much.
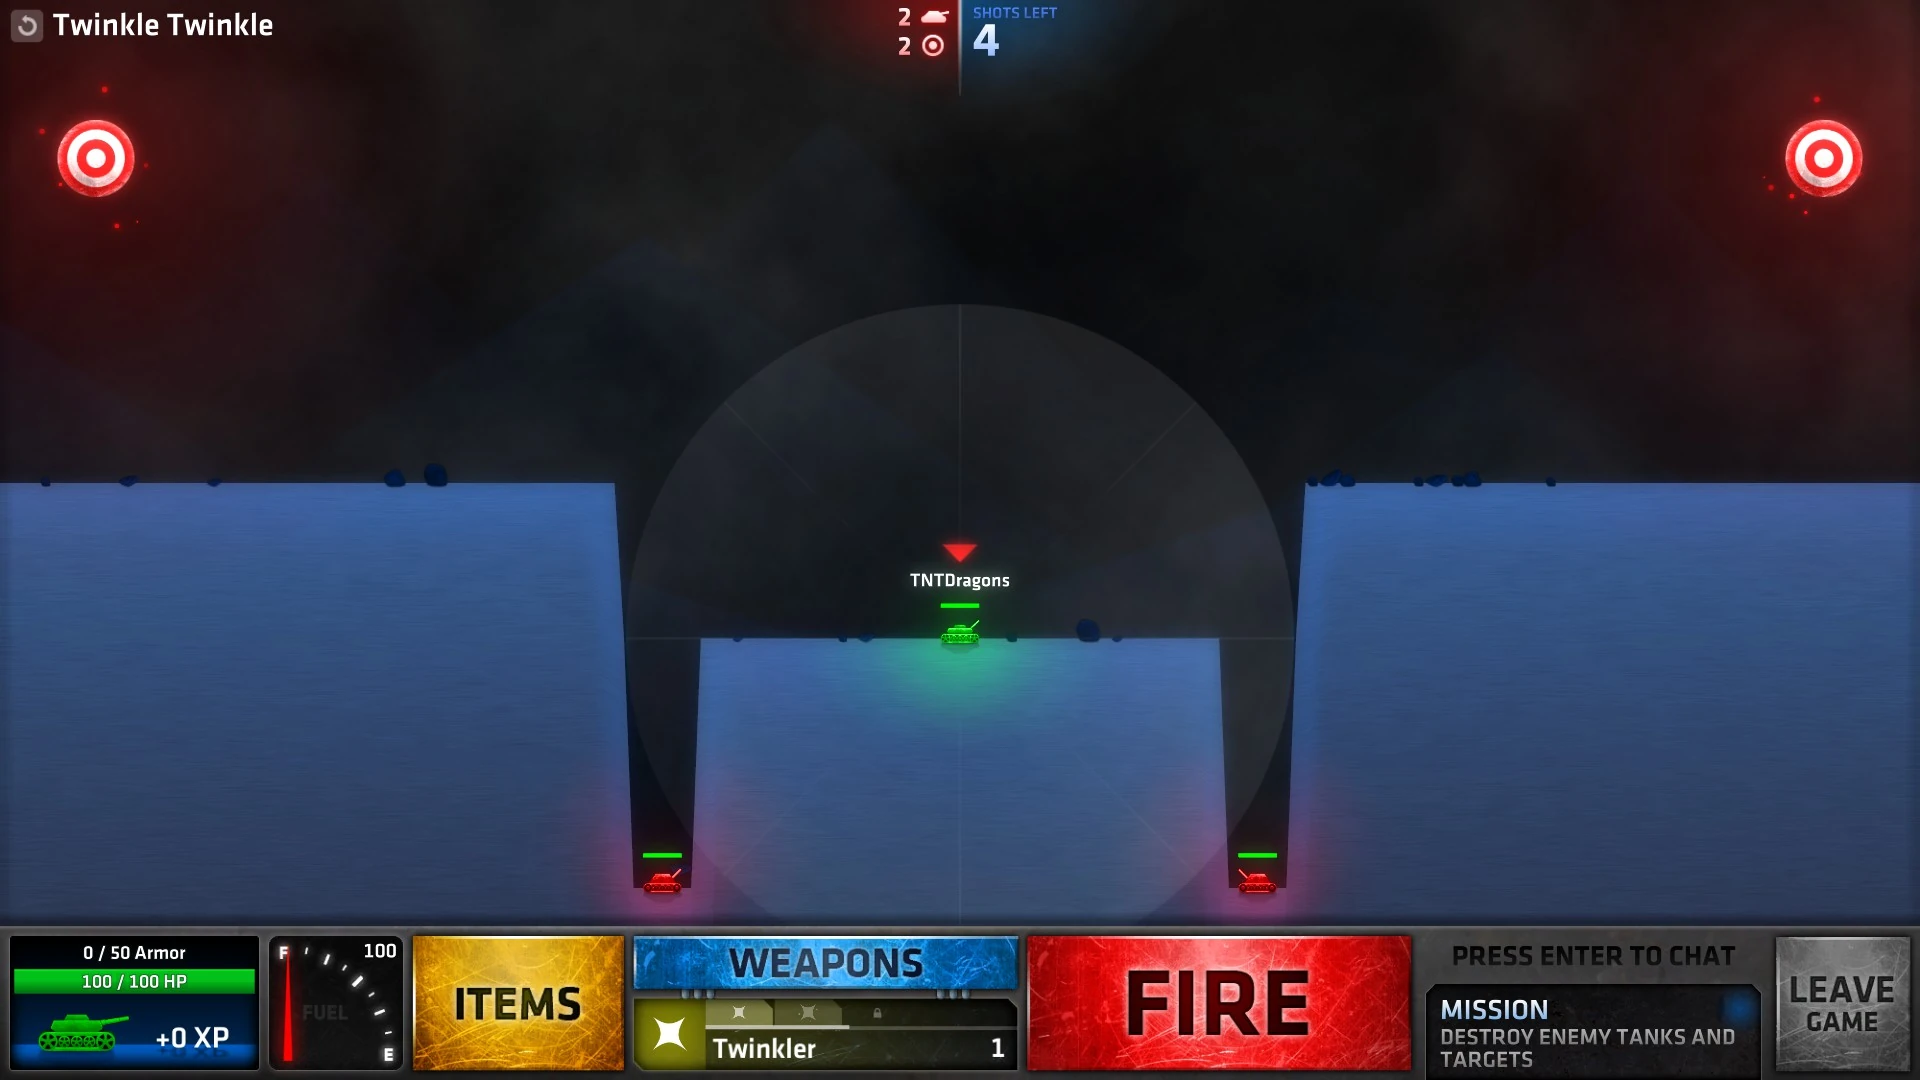
Twinkle Twinkle[ | ]
Twinkler is introduced. Unlike other weapons that are introduced in missions, twinkler is somewhat like a normal shot, utilizing sparks to deal damage instead of an explosion, making this mission really straightforward.
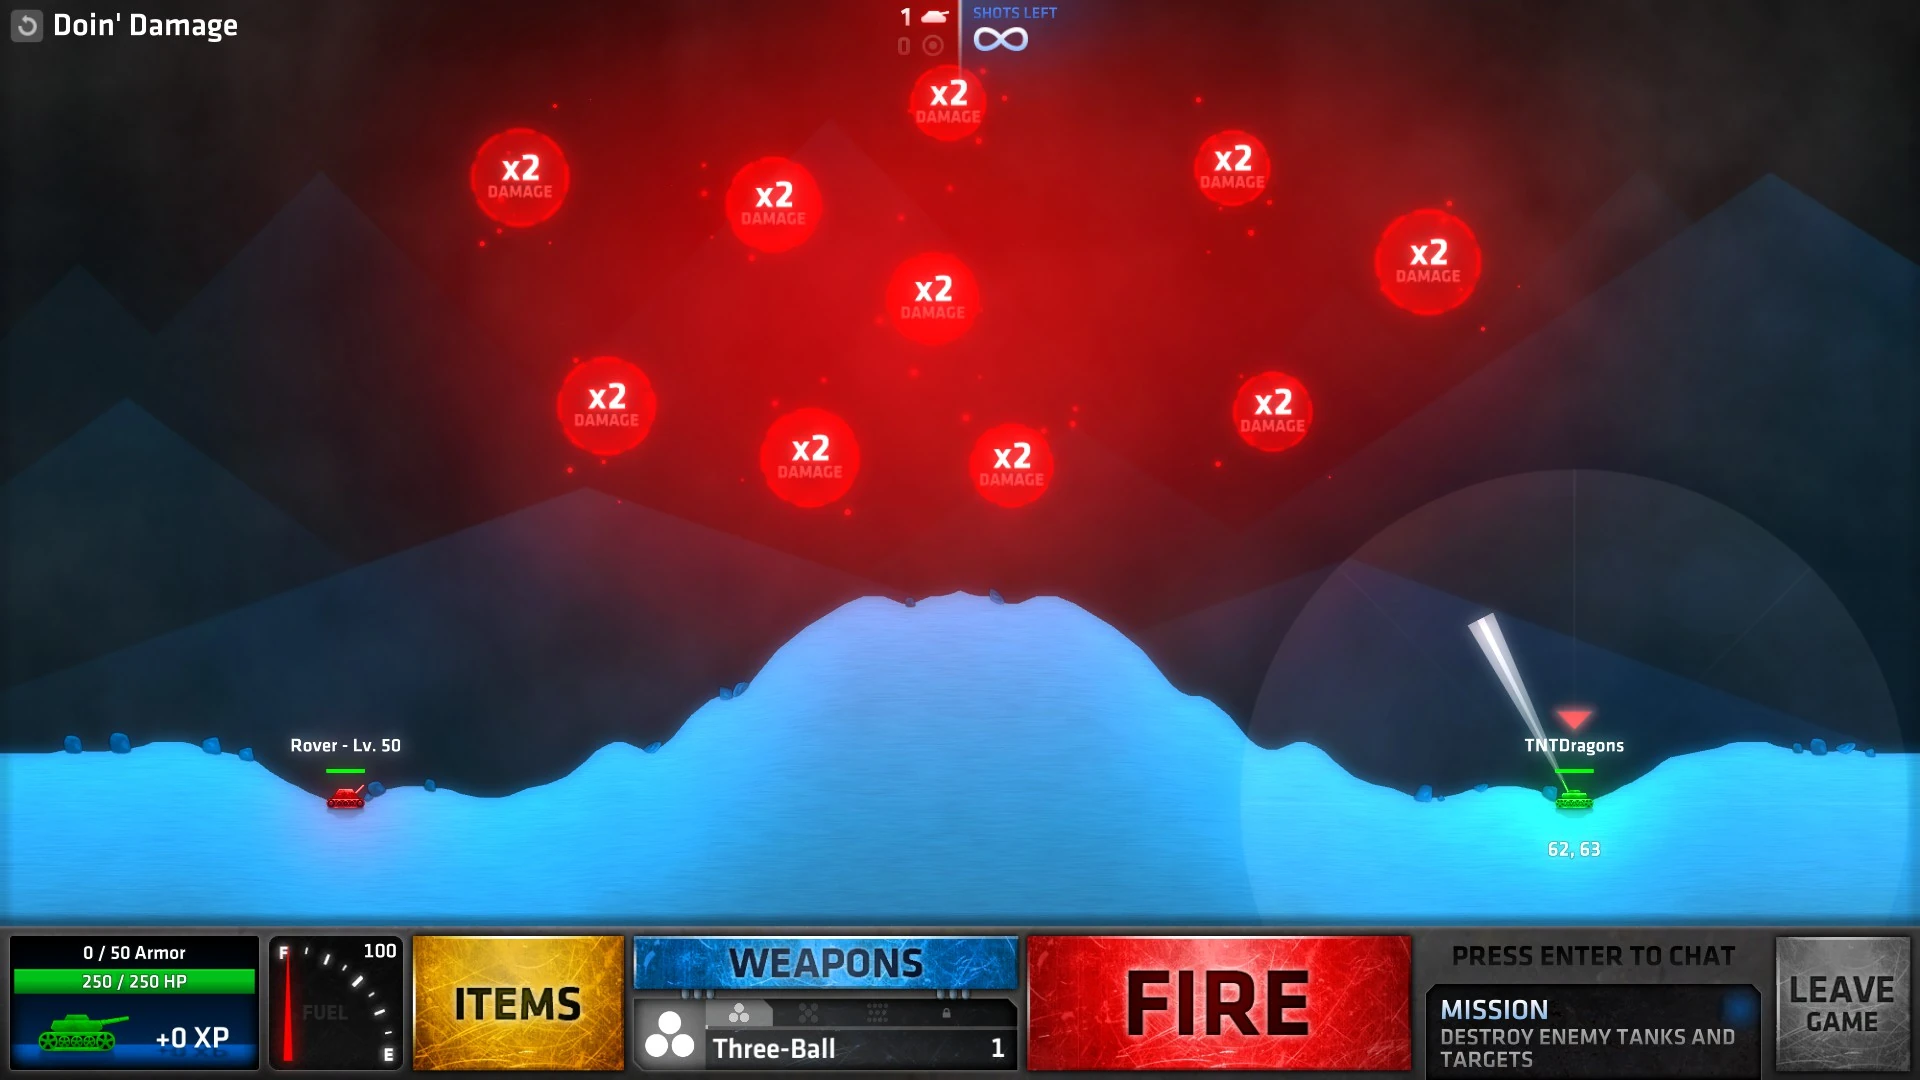
Doin' Damage[ | ]
The x2 buff is formally introduced. These buffs allow players to deal twice as much damage as before, making them very valuable in-game. It is advised to take out the bot as soon as possible, as bots are also able to utilize buffs, though not intentionally. No matter what, bots may randomly hit buffs and because they only shoot max tier weapons, results can be bad for the payer if they also happen to hit the shot.
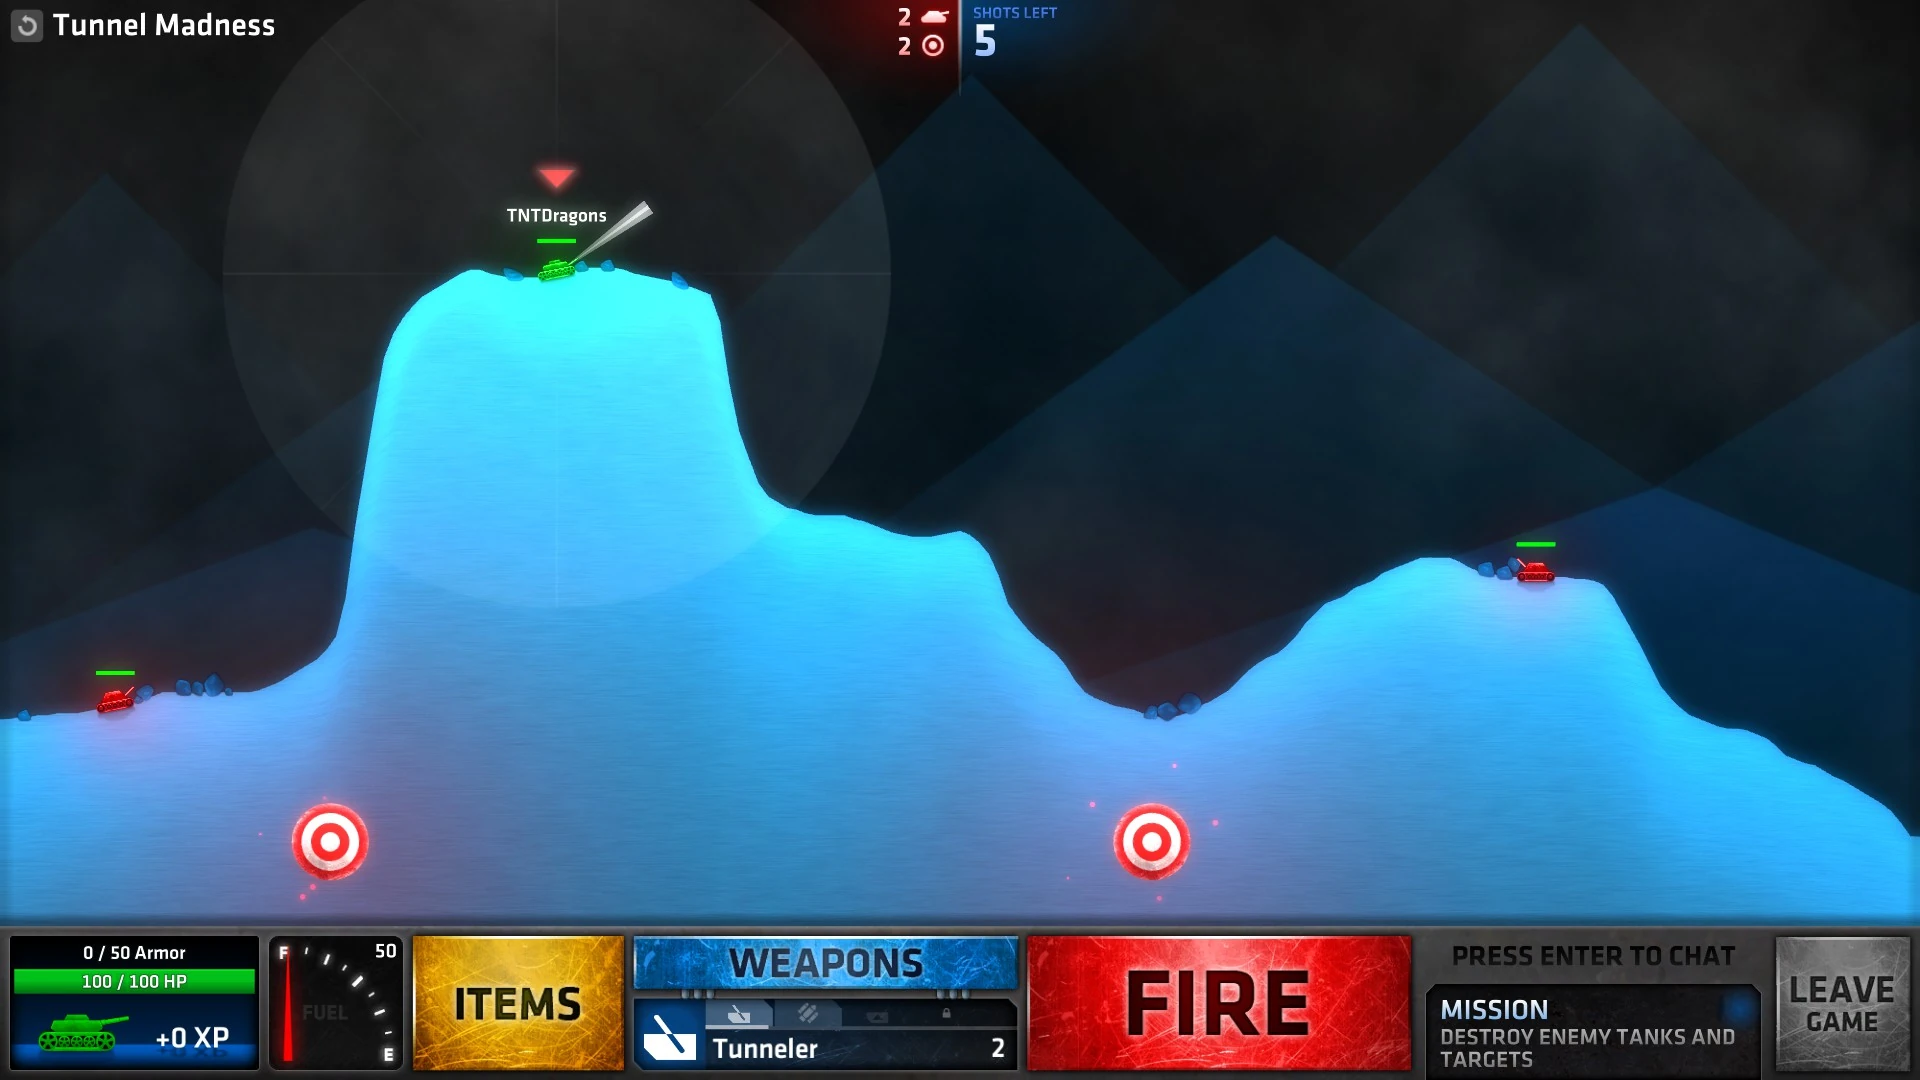
Tunnel Madness[ | ]
Tunneler is used to tunnel here. With 5 shots and 4 things to hit, the player just has to aim for each target or tank individually. Alternatively, the player can hit both targets and tanks with the same shot, allowing more shots for other targets and tanks. Torpedoes greatly help in hitting target and megatunneler can help in taking down the tanks with its increased explosion radius.
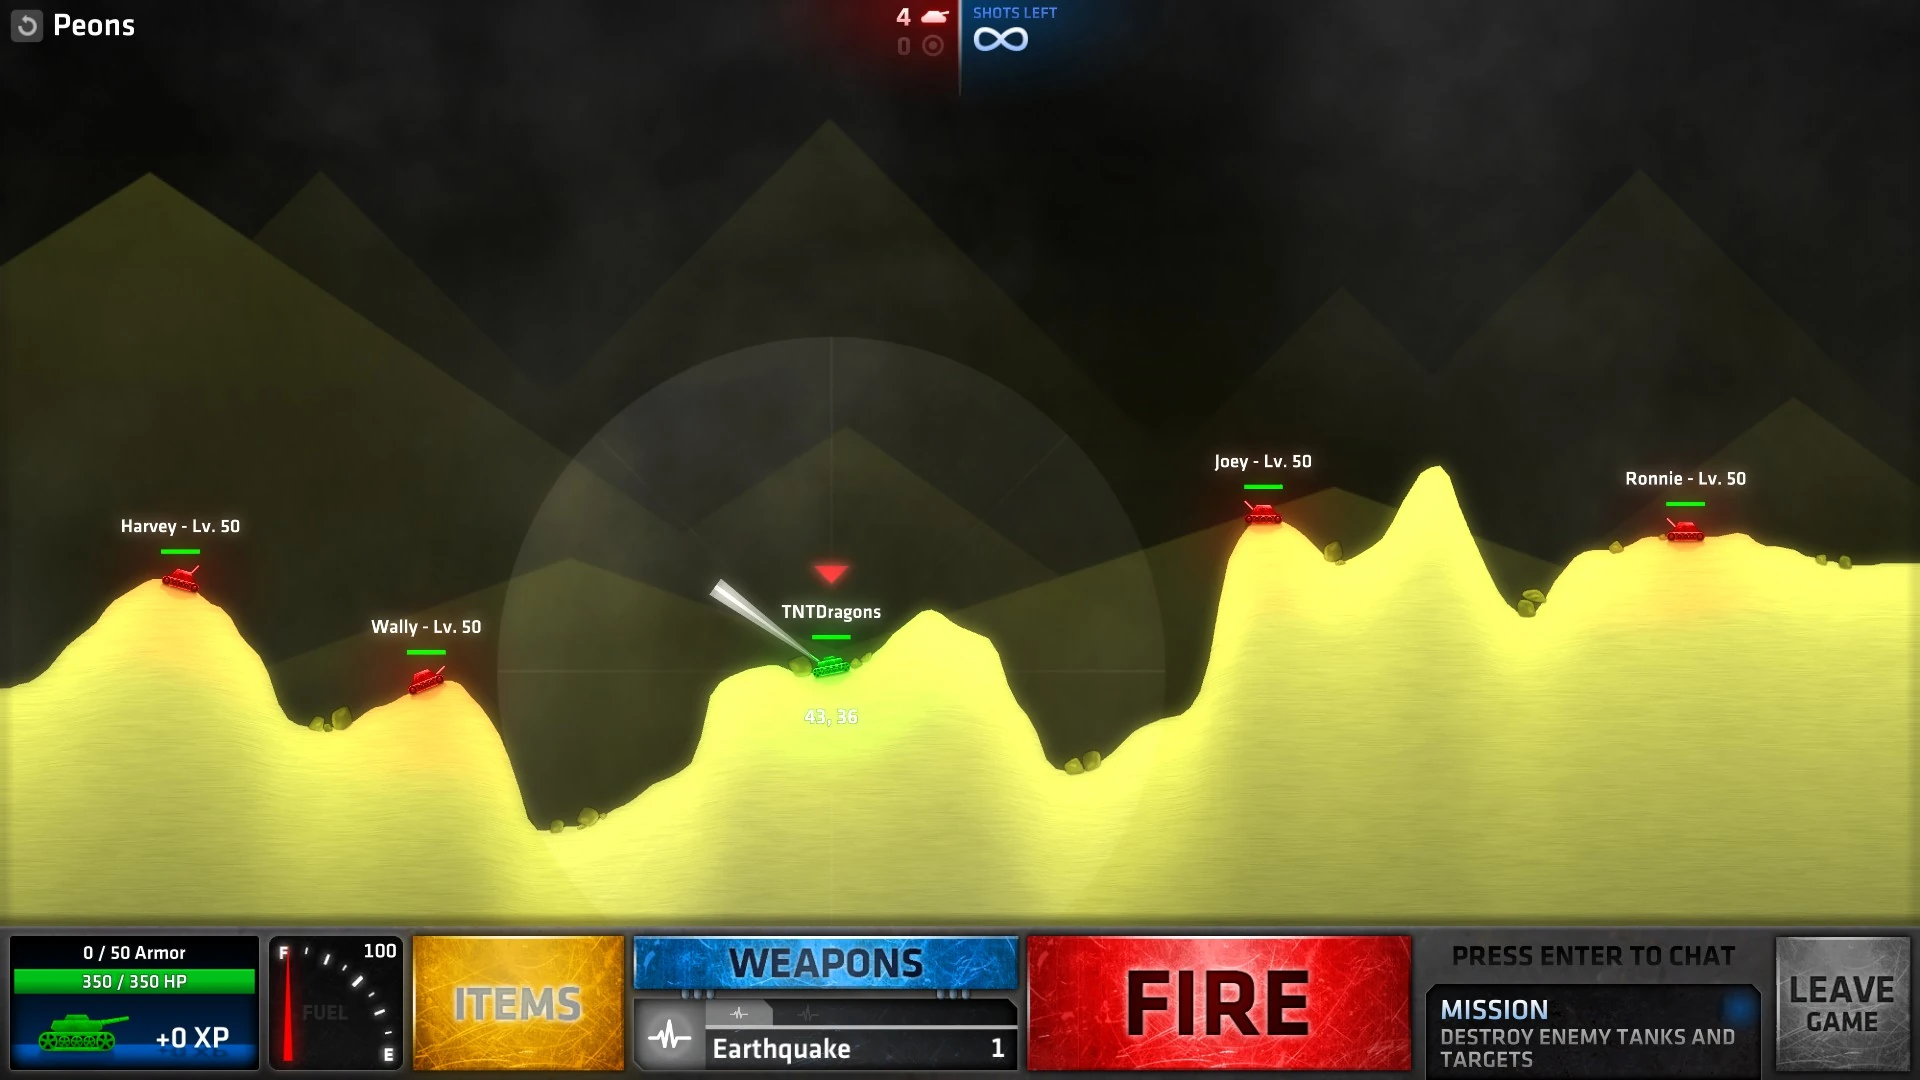
Peons[ | ]
Surrounded by four enemy tanks with decent accuracy, it is adviced to take cover behind a steep wall to hide from their shots. As they all have low Hp individually, the best course of action is to take out one after another to survive.
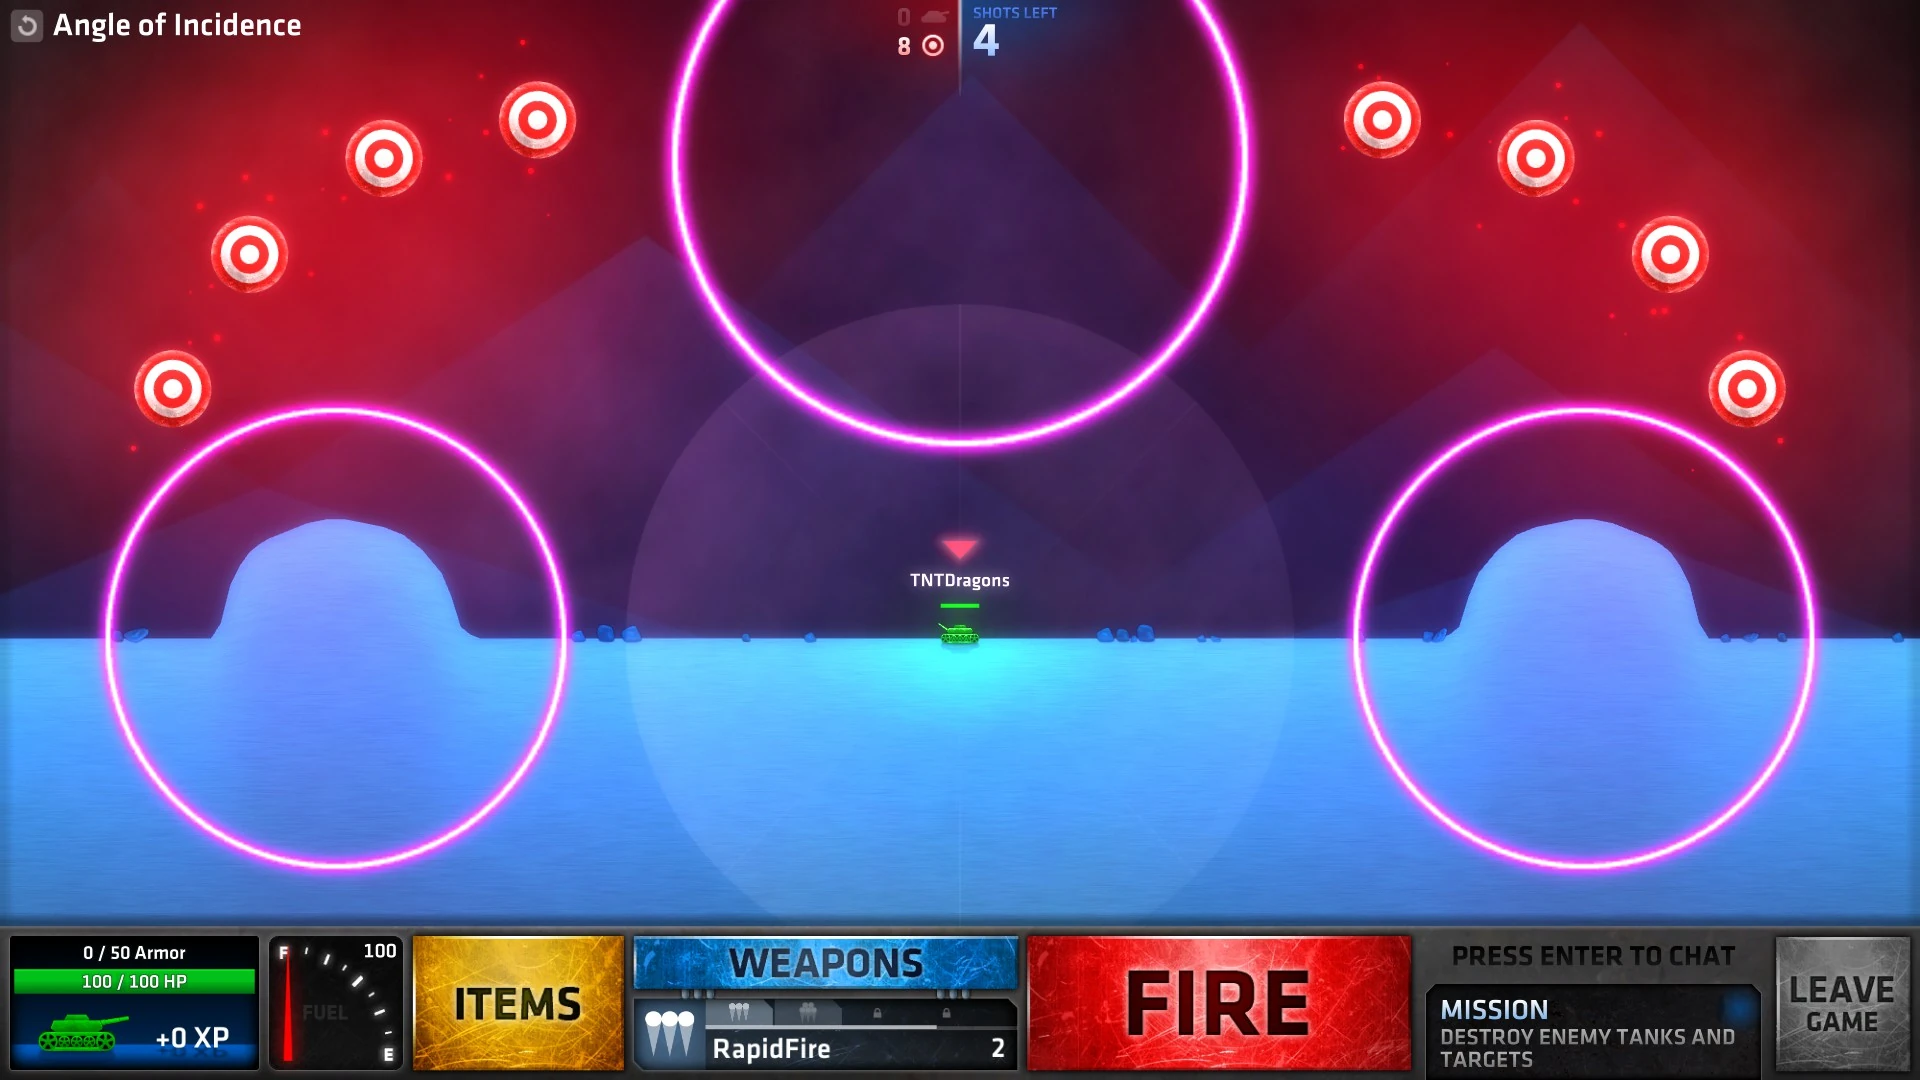
Angle of Incidence[ | ]
Simply shoot at the lower bumpers and hope the shots rebound at the targets. This mission is heavily luck-based due to randomness of rapidfire, and so its upgrades, such as the gatling gun, can help in completing this mission.
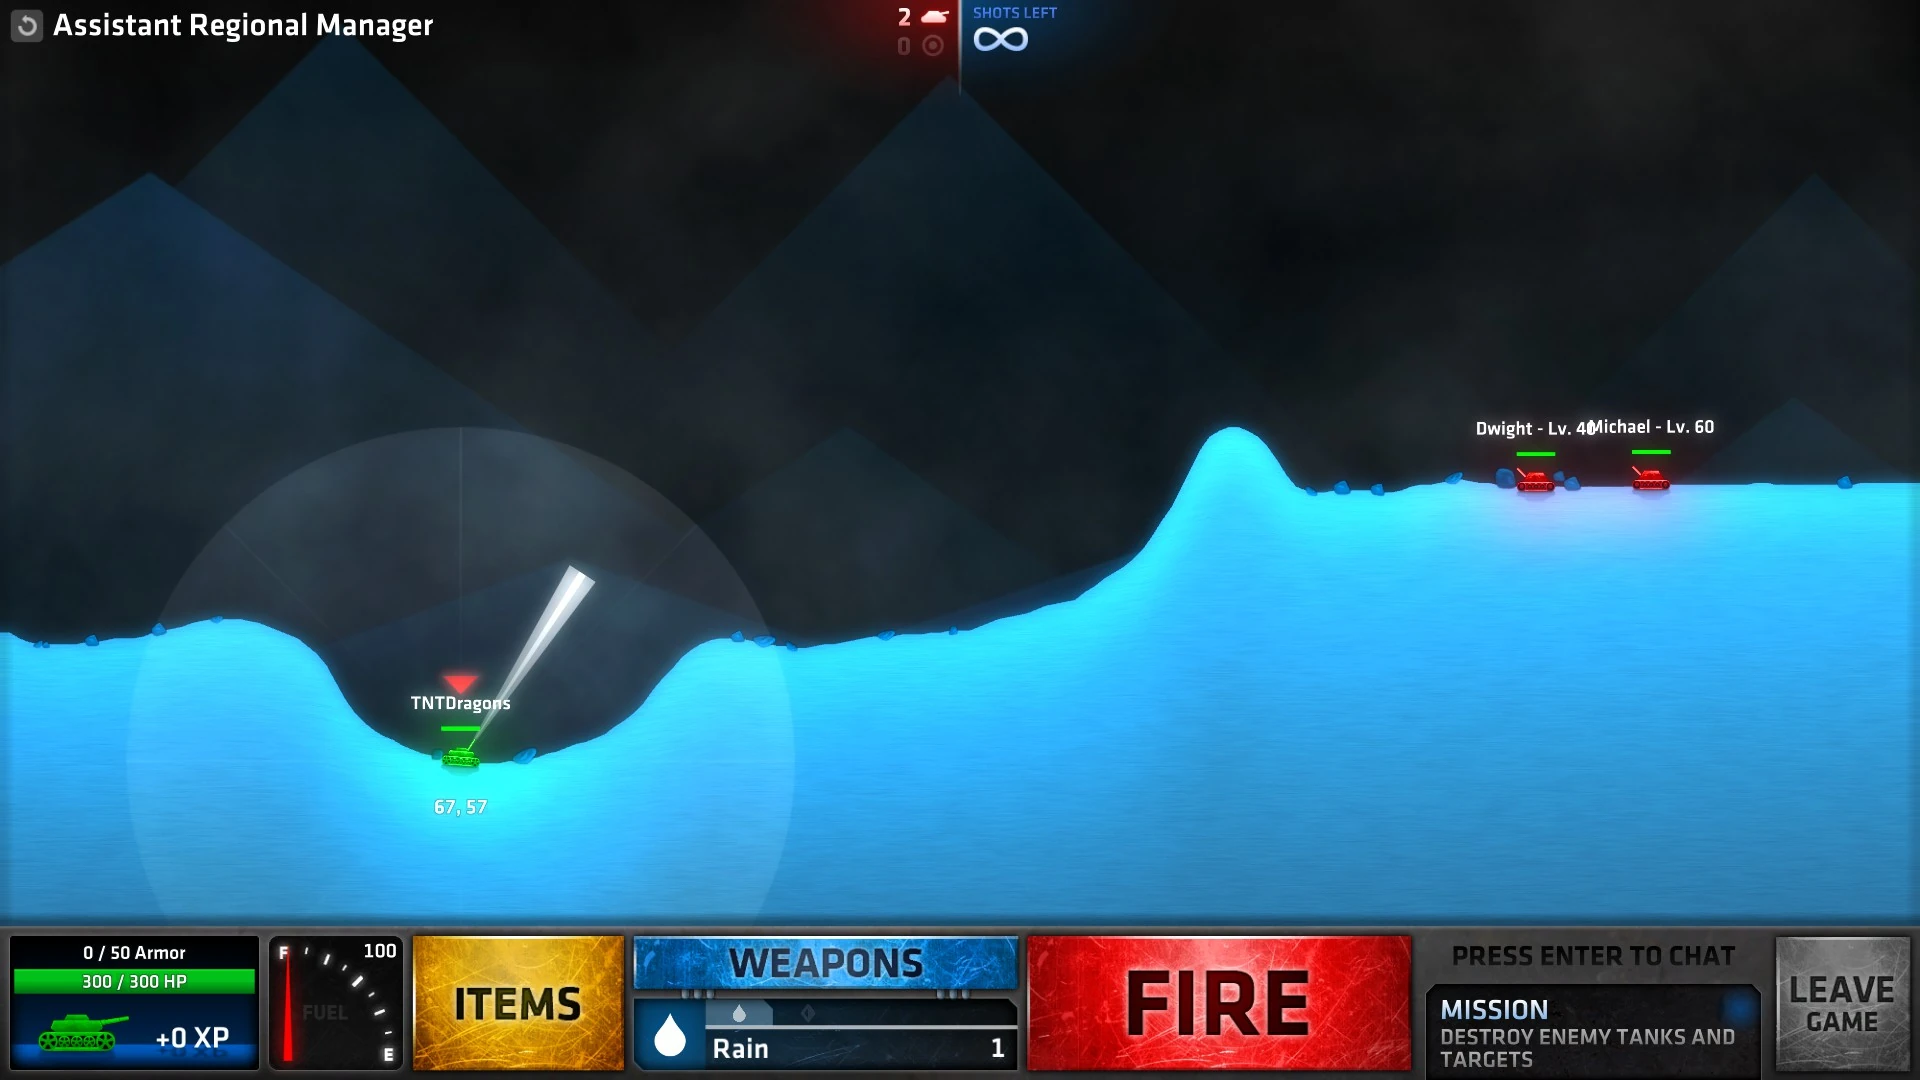
Assistant Regional Manager[ | ]
The normal boss fight in the end of every chapter. This time, there are two bots, giving their team more firepower. It is advised to only focus on one bot to reduce the amount of damage taken every turn, allowing a greater chance of survival.